
File Cutter module
Help Version: 3.15 - 23/MAR/2021
File Cutter Module: <NEWFILEOUT> command
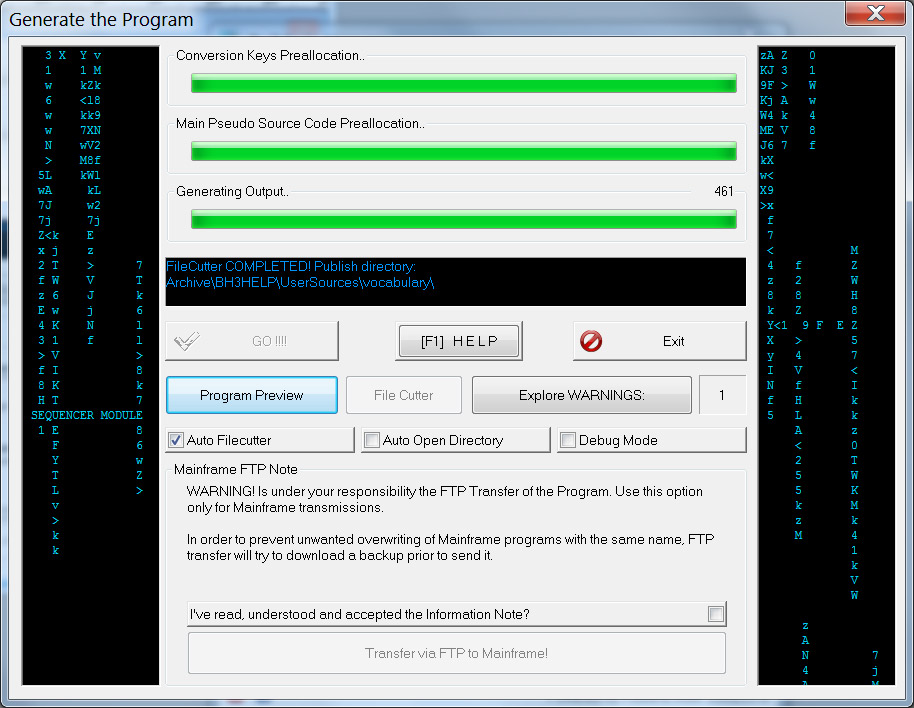
After the Generate Program Process has terminated, you can click the button "File Cutter" to submit the generated file to file cutting process. The Auto FileCutter checkbox automatically run the module. During this process the file look for specific keywords followed by the path and the file name. Everything contained between this Keyword and the next, or the final end of file, goes under the Keyword file name.
The M.P.S.C. syntax of File Cutter is listed below:
H //-<NEWFILEOUT> subDirectory1\subDirectory2\MyProgram.html -----------------------//
To better undestand this line of M.P.S.C. it will be separated into blocks:
- Area from byte 1 to Byte 6 is a part of Flags. Ensure that this line will be written when necessary in order to get your file name row. Otherwise different languages will merge with previous file cutting name, obtaining lot of errors.
-
//-<NEWFILEOUT>This is the keyword that identify a File Cutter Line -
subDirectory1\subDirectory2\This is optional, in case you want to organize your file in subdirectories. -
<PRGNAM>.htmlThis is the filename . After filecutting it will assume the name of the program, resulting: program1.html for example. This line open a new file in output and write every rows found from this code to the next file cutter keyword. -
----------//This is just a separator used to indentify in a complex M.P.S.C. the file you are writing. It's optional but suggested.
File Cutter rows are useful when your project need to create not just a single program, but a series of file that came all from the same Builder's Heaven decisions. For example if we decide to create an HTML that would need a CSS files and a Javascript files, I will have in M.P.S.C. the following lines:
							H     //-<NEWFILEOUT> MyProgram.html -------//

							H     ....html content...

							H     //-<NEWFILEOUT> CSS\MyProgram.css ---//

							H     ....CSS content...

							H     //-<NEWFILEOUT> JS\MyProgram.js -----//

							H     ....javascript content...
The result of this file cutting will be an html, a css inside the CSS subdirectory, and a javascript inside the JS subdirectory.
File Cutter is easy to implement and much versatile. It can be used also to create empty subdirectories. Here some examples.
M.P.S.C. Common syntax: create a file inside 2 subdirectories
							H     //-<NEWFILEOUT> subDirectory1\subDirectory2\MyProgram.html -----------------------//

							H     (content here...)
Common syntax: create a file inside 2 subdirectories defined in Key To Value
							H     //-<NEWFILEOUT> <MAIN_DIRECTORY_KEY>\<PROGRAM_DIRECTORY>\MyProgram.html -----------//

							H     (content here...)
Only Subdirectory syntax: note that the slash "\" at the end is required.
							H     //-<NEWFILEOUT> subDirectory1\ ------------------//

							H     //-<NEWFILEOUT> subDirectory2\ ------------------//

							H     //-<NEWFILEOUT> subDirectory3\ ------------------//
Filename with spaces: note that containing apex are required
							H     //-<NEWFILEOUT> "Test the space.html" -----------//

							H     (content here...)
File Cutter Module: <COPYRESOURCE> command
A second command for File Cutter Module allow you to copy files from the Resource Directory of a Language, to the final directory of your generated program. The purpose of this command is to connect the copy of resource files (i.e. scripts, jpegs, useful data file, project files, etc) with the Flags used inside the code.
TIP: the "Resources" directory can be found inside the Language directory that is in your main Archive directory.
The syntax of File Cutter Copy Resource command is listed below:
H //-<COPYRESOURCE> "SourceFile.txt" "DestinationFile.txt" -----------------------//
Note that syntax and rules are equal to <NEWFILEOUT> tag previously described.
For example if you need to play a copuple of Mp3 from a Builder's Heaven Jquery class, you can archive inside resource directory some example Mp3 and define their copy only when the setup enables sound Flags. Or you can always copy resource files binding them to the language Main Flag.
M.P.S.C. More Examples:
							H     // Copy a generic "readme" file to publishDirectory\Info

							H     //-<COPYRESOURCE> "readme.txt" "Info\readme.txt"

							H

							H     // Copy a generic "mp3" file to publishDirectory\sound

							H     //-<COPYRESOURCE> "success.mp3" "sound\success.mp3"

							H

							H     // Copy Jquery from Resources\Jquery191 directory to publishDirectory\JS\plugin\

							H     //-<COPYRESOURCE> "Jquery191\jquery-1.9.1.min.js" "JS\plugin\jquery-1.9.1.min.js"

							H

							H     // Uses FLAGs keys to copy source file to publish directory. Note flag JNS.

							JNS   //-<COPYRESOURCE> "<JNS_11_MP3>" "<JNS_11_MP3>"
TIP: to keep the copy of resources clear and ordered it's suggested to put them before a <NEWFILEOUT> command. In any case they do not interrupt the filecutter process but just invokes a copy process. The line that contains <COPYRESOURCE> command will then be removed from the code.
M.P.S.C. Tip Example:
							H     ....content.....

							H     //-<COPYRESOURCE> "readme.txt" "Info\readme.txt"

							H     //-<COPYRESOURCE> "success.mp3" "sound\success.mp3"

							H     //-<NEWFILEOUT> subDirectory1\subDirectory2\MyProgram.html -----------------------//

							H     ....more content.....
File Cutter Module: <UNPACKFILE> command
This command allows to Unpack a compressed file from the RESOURCE directory to the Publish directory. The input file, accordingly to the Unpack Plugin, can be a Zip, 7z, rar, etc. The purpose of unpacking process is to deploy all the files required for an application to run, likes plugin, utilities, or project files, or everything is required from the generated program.
TIP: the "Resources" directory can be found inside the Language directory that is in your main Archive directory.
The syntax of UNPACKFILE command is listed below:
							H     //-<UNPACKFILE> "SourceFile.zip"

							H     //-<UNPACKFILE> "SourceFile.zip" "DestinationSubDirectory"
The first command unpack a zip file into the ROOT of your publish directory, during FILECUTTER process. The second command unpack a zip file into the DestinationSubDirectory , created inside your publish directory. All the content of the Compressed file (zip, 7z, rar, etc) are deployed inside the target directory.
For example if you need to play a copuple of Mp3 from a Builder's Heaven Jquery class, you can archive them in a zip file inside RESOURCE directory: "mp3.zip". Then inside the M.P.S.C. insert a command to unpack the zip file into the publish directory.
Example:
							H     // Unpack mp3.zip into publishDirectory\Mp3

							H     //-<UNPACKFILE> "mp3.zip" "Mp3"

							H

							H     // Unpack mp3.zip into root of publishDirectory

							H     //-<UNPACKFILE> "mp3.zip"

							H

							H

							H     // Uses FLAGs keys to unpack source file to publish directory depending on flag JAA for example...

							JAA   //-<UNPACKFILE> "mp3.zip" "Mp3"
Note: The unpack plugin is configured inside the ADDITIONAL OPTIONS, inside Advanced Options, inside USER DATA and FTP Settings.
Advertising